When you install Virtual CD in a network, you can either install the program and configure all the settings on each client workstation separately, or you can make a Client Setup program. With a Client Setup, you only need to configure the settings once. When you run the Client Setup on a workstation, Virtual CD is automatically installed with the settings you configured.
|
The Client Setup feature is NOT included in the demo version of Virtual CD. |
|
When you install Virtual CD with a single user license, the Client Setup feature is not installed automatically. If you select the customized installation option during setup, however, you can choose to have this feature installed. |
|
If you have a Virtual CD Network Management Server, you can use a Client Setup to install Virtual CD on your workstations from a central location, using the Client Distribution feature. |
|
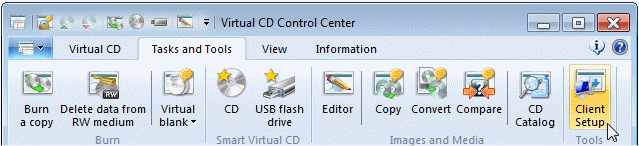
Run the Virtual CD Client Setup program |
Open the CD Control Center and, on the Tasks and Tools tab, select Client Setup.
|
Create a Client Setup |
Once you have opened the Client Setup program, you can configure the settings as desired.
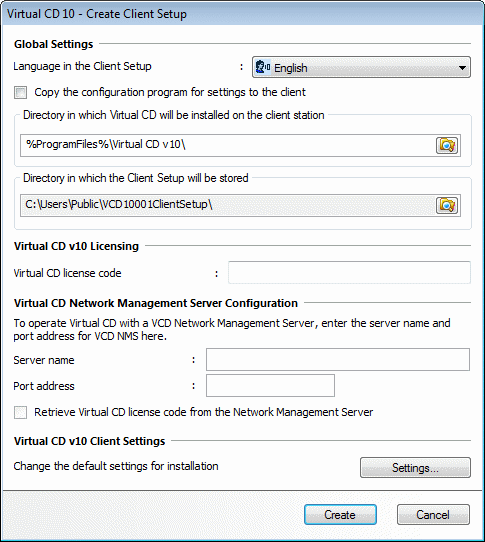
When it opens, the Client Setup loads the settings and other configuration data active on the local computer. To keep this example very simple, we leave these default settings unchanged. For a customized Client Setup, click on Settings to modify the settings for virtual drives, folders, programs and functions as desired. If necessary, change the folder in which the Client Setup will be stored and then click on Create to create the Client Setup.
|
Client Setups can be created only if the license code for the Virtual CD program has been entered. |
|
Execute the Virtual CD Client Setup |
After a moment, the new Client Setup is completed. A folder opens in the Explorer giving you direct access to the Client Setup.
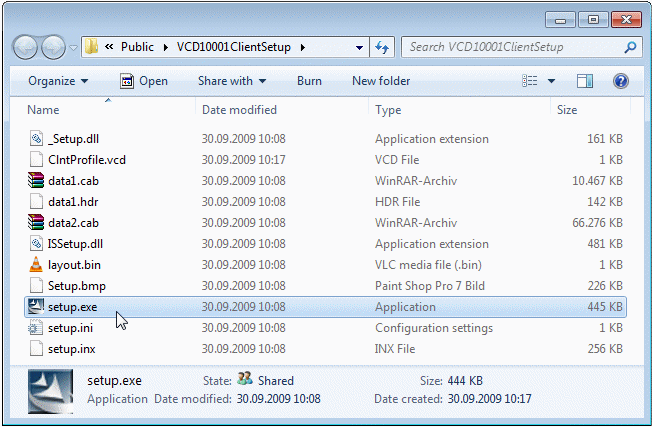
That's it! You can now execute the setup program in the Client Setup on the other workstations in your network to distribute Virtual CD.