Rather than creating a virtual CD with the Image Wizard, you can use the Editor to make exactly the image you want in just a few easy steps.
|
Run the Editor |
The process is a little quicker and easier if you run the Editor from the Virtual CD Starter by selecting the Assemble data option.

|
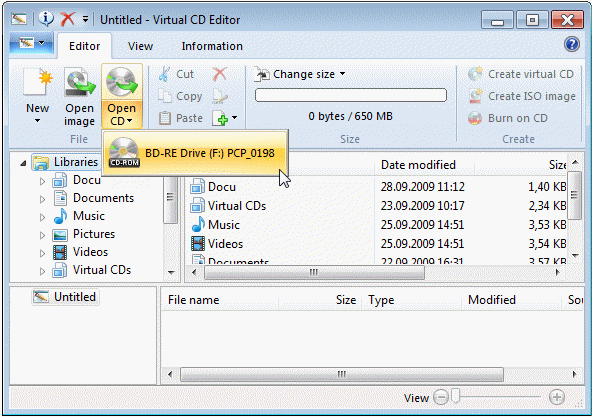
Open the source CD |
If the source CD you wish to process in the Editor is not in the drive, insert it now. On the Editor tab of the Ribbon, click on Open CD. This opens a menu listing the available CDs. Select the CD that you wish to read into the Editor.
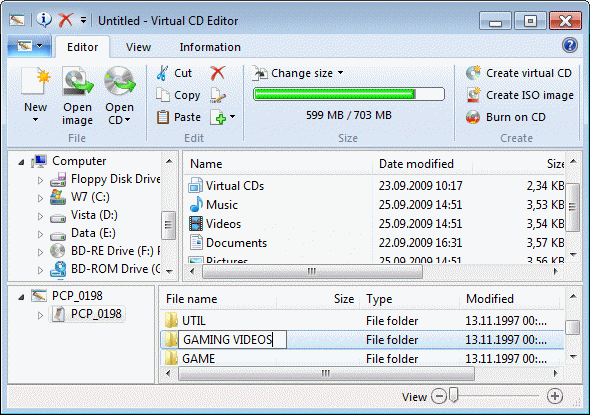
Depending on in amount of data on the CD, reading in the data may take a few moments.
|
Customize the data |
Once the data has been read in, you can modify it as desired. You can create folders, add files, delete files, or exchange files.
That's it! The data can now be written to the target medium.