With the Virtual CD Editor you can create customized images with your choice of content. It is also useful for testing customized content before burning it onto a physical CD. Since the output is a virtual CD, no CD blank is wasted if you decide to alter the content and burn it again.
|
Run the Editor |
Run the Editor from the Virtual CD Starter by selecting the Assemble data option.

|
Choose data for the image |
The Editor is divided into two main sections. The upper portion of the program window is the Explorer View and shows the data that is on the computer. The lower portion is the Contents View and shows the data selected for inclusion in the image. To add data to the image, drag and drop files or folders from the Explorer View to the Contents View.
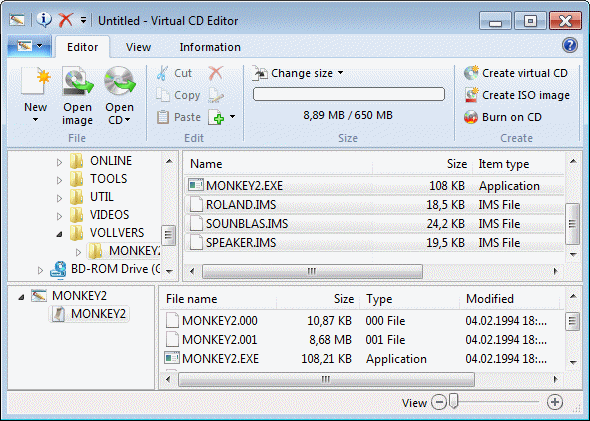
The Size group on the Ribbon's Editor tab shows how much of the space will be taken up by the data selected.
|
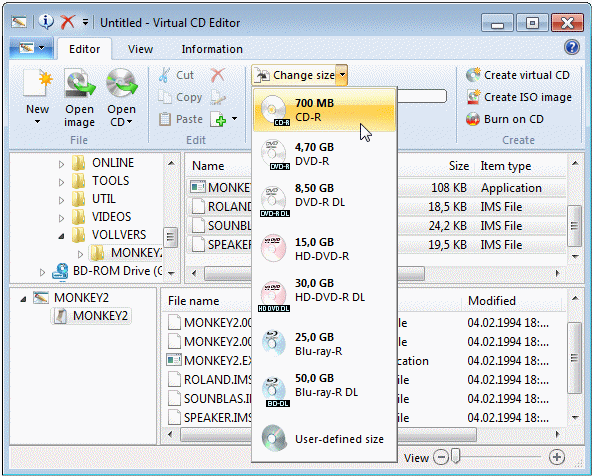
For a virtual CD, this this information is not particularly important. If there is a chance you might want to burn this image onto a physical CD later, however, make sure the total data volume does not exceed the capacity of your blank CD. You can specify a different size at any time, for example if the space on the selected blank is not sufficient. |
|
Modify the label and description |
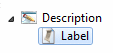
The next step is to adapt the description and/or the label of the CD. To do this, select the item you want to change in the Contents View and press F2. Change the value to a meaningful text. Keep in mind that the label must not exceed 32 characters and can contain only letters, numbers, spaces and the minus sign.
|
The description plays a role only for images, as it is displayed with images within Virtual CD programs. The label is displayed, among other things, in the Explorer when a CD is inserted. When you designate data for inclusion on a new CD, it is set to the current date. |
|
If you create an image, you can edit these values subsequently in the image properties. If you burn the data on a CD, the CD's label cannot be modified. This is why it is important to edit it before burning the CD. |
That's it! You can now write the data to the desired medium.